Note: some of the contents of this page are only verified as of a fairly old date. They may differ from the most recent status.
Overview
- The “profile name” of your ECCS Cloud Email account is automatically created through linkage from the system, but you can change it yourself.
- In some systems, the “system-managed name” may be displayed instead of your profile name. Note that users cannot change their “system-managed name”.
How to change your profile’s first and last name
- In your browser, log in to ECCS Cloud Email.
- Click the icon at the top right to open the menu, then click “Manage your Google Account”.

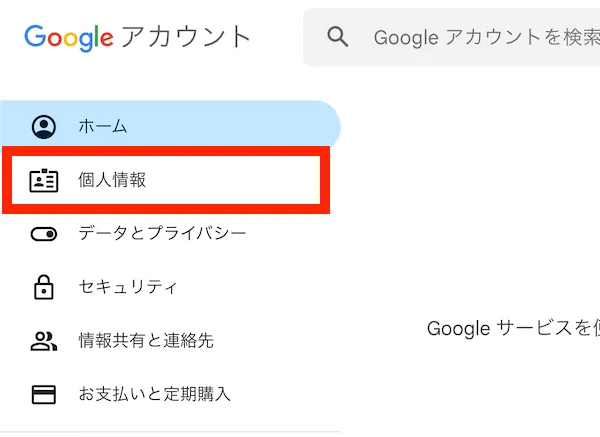
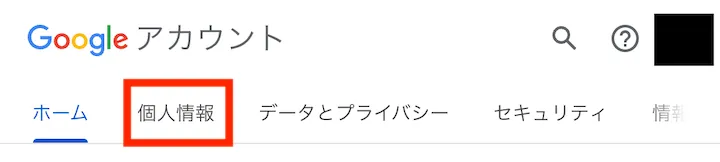
- Open the “Personal info” tab.
- Click “Name” in the “Basic info” section.
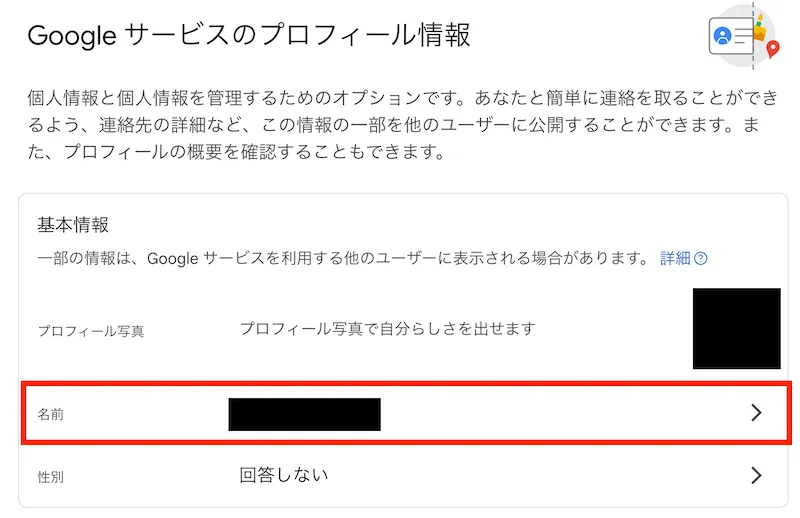
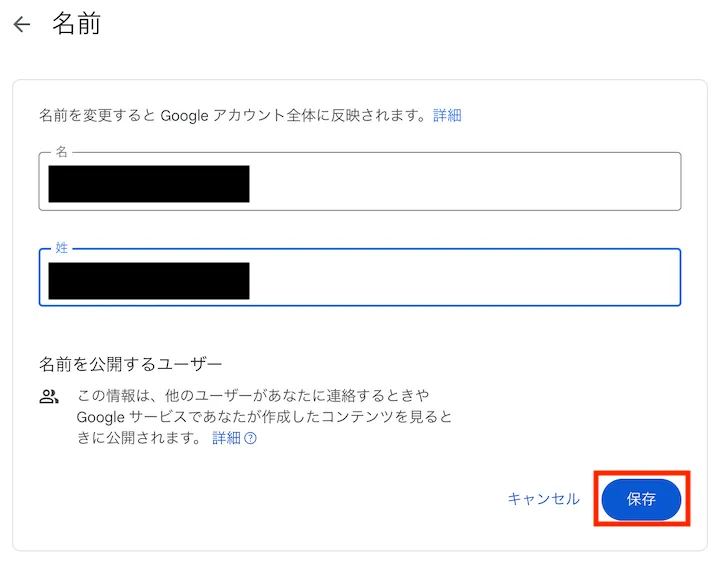
- Enter your name (first and last), then click “Save”.
About the “profile name” and the “system-managed name”
ECCS Cloud Email accounts have two names: the “profile name”, which users can change themselves, and the “system-managed name”, which is registered in advance through system processing.
Profile name
- This is the name shown to others when using Google Chat, or when sharing files or Google Calendar events.
- You can change it yourself.
System-managed name
- This is the name automatically set through a series of system processes when an ECCS Cloud Email user account is created.
- Users cannot change this name themselves.
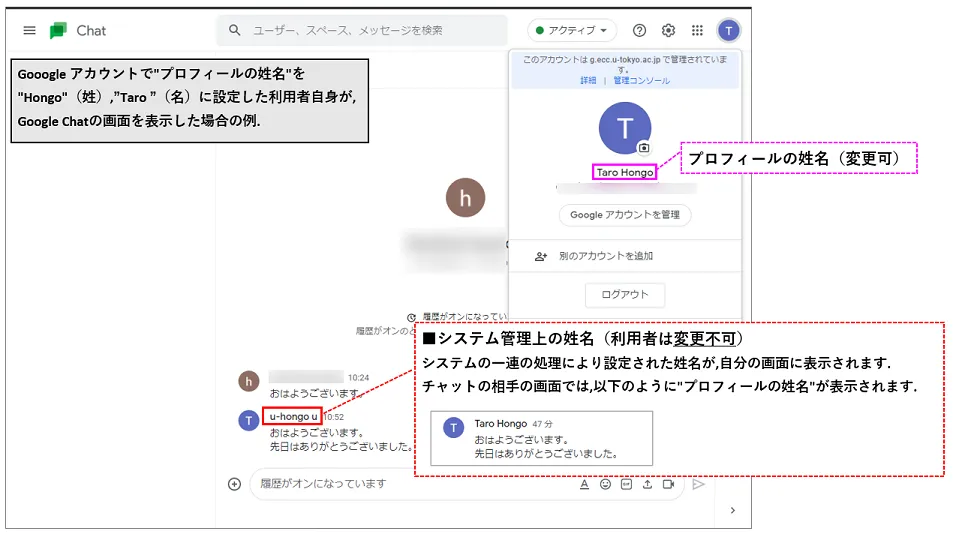
Cases where the system-managed name is displayed
In some systems, the name displayed may unexpectedly be the “system-managed name” rather than the one you set.
As of May 2022, this issue has only been confirmed in Google Chat. In Google Chat, your own screen displays your “system-managed name”, while the other person’s screen displays your “profile name”. This may be confusing since the name shown differs between your screen and the other person’s screen, but this is expected behavior.